This post might include affiliate links for products that I know and LOVE!
Kombucha is all the rage these days, and for good reason! This fizzy, good-for-you drink tastes great and contains so many benefits. I’ve been making my own homemade kombucha recipe for ages, and let me say, it’s one of the easiest things I do in the kitchen.
Seriously, kombucha is fix-it and forget-it. Plus, your kombucha scoby is the gift that keeps on giving, saving you tons of money. I know you’ll be just as obsessed as I am!
Why Try Kombucha?
Kombucha goes through its seasons of popularity, but this fermented drink has been around for many, many years. There are so many health trends out there that it’s important to look at the facts when deciding what to implement into our lives. After all, we only have so much time in one day!
Kombucha can kill gross bacteria in the body and is also effective against candida. It’s also a powerful gut-healing elixir full of probiotics! When your gut is healthy, your entire body benefits through reduced inflammation and better digestion. With the latest emphasis on gut health, kombucha can be a simple way to boost gut health without investing in expensive supplements.
You can make it with a number of delicious teas, which amp up the health benefits. For example, use green tea for a dose of antioxidants or oolong tea for a metabolism boost.
If you’re a huge fan of fizzy drinks, you’ll love this bubbly treat. This homemade kombucha recipe gives you the basic details, but there are so many ways to customize your beverage. You can create herbal, fruity, and spicy kombucha. There are even ways to make it taste like your favorite soda! The possibilities are endless.
How to Get Started
To make your kombucha recipe, you need a few simple ingredients and a few helpful tools. I’ve tried many different methods, but I always fall back on this one because it’s the easiest and totally foolproof. Here’s what you need to get started.
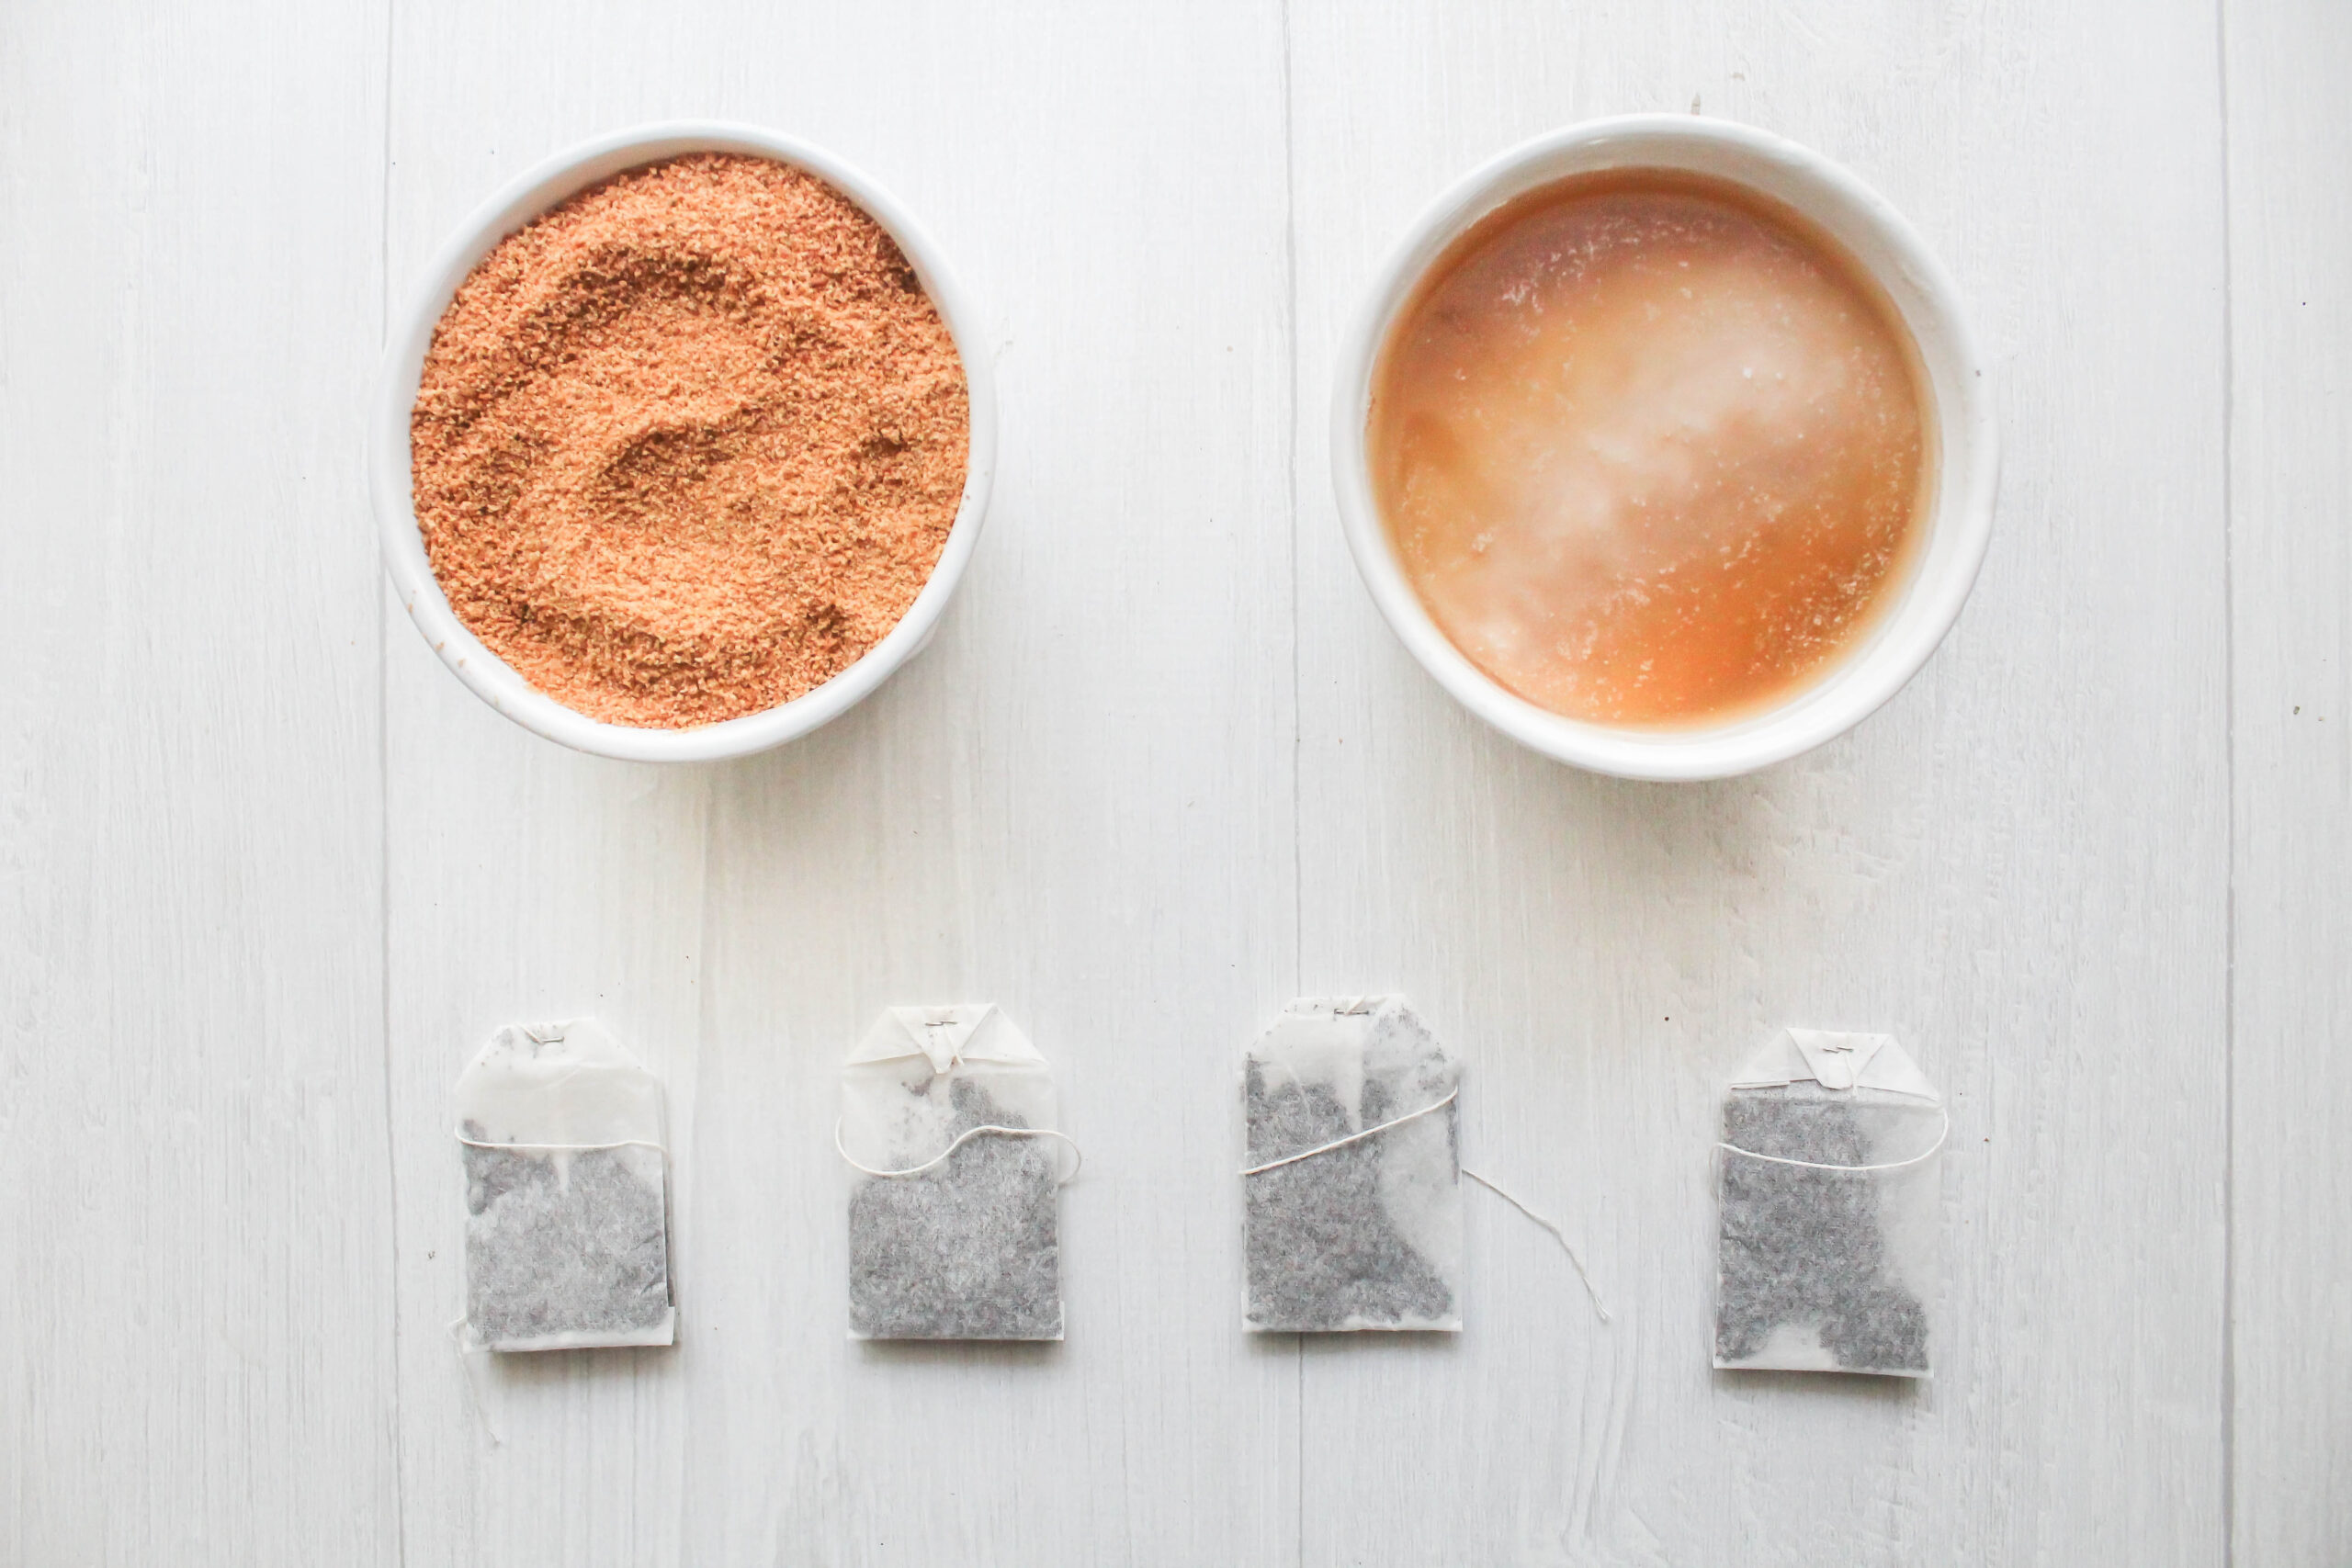
Tea: My tea of choice is black or oolong. These options make the richest-tasting kombucha. You can also use green or white tea. Even if you don’t normally splurge for organic varieties, I encourage you to at least keep a box of organic tea on hand for your kombucha.
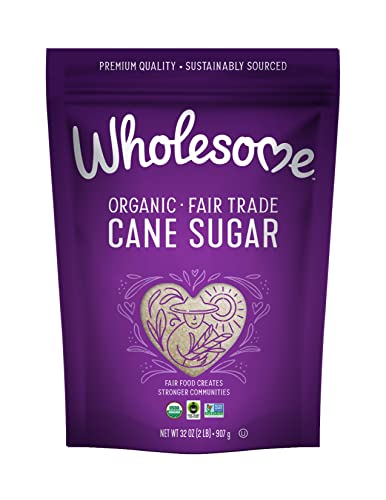
Sweetener: The right sweetener produces an amazing bottle of kombucha! I use organic, fair-trade cane sugar or coconut sugar for my brewing process. During the fermentation process, the sugars essentially break down to feed the yeast and produce good bacteria, so you aren’t ingesting refined sugar.
You can also use honey or pure maple syrup. Feel free to blend multiple sweeteners to create your perfect brew!
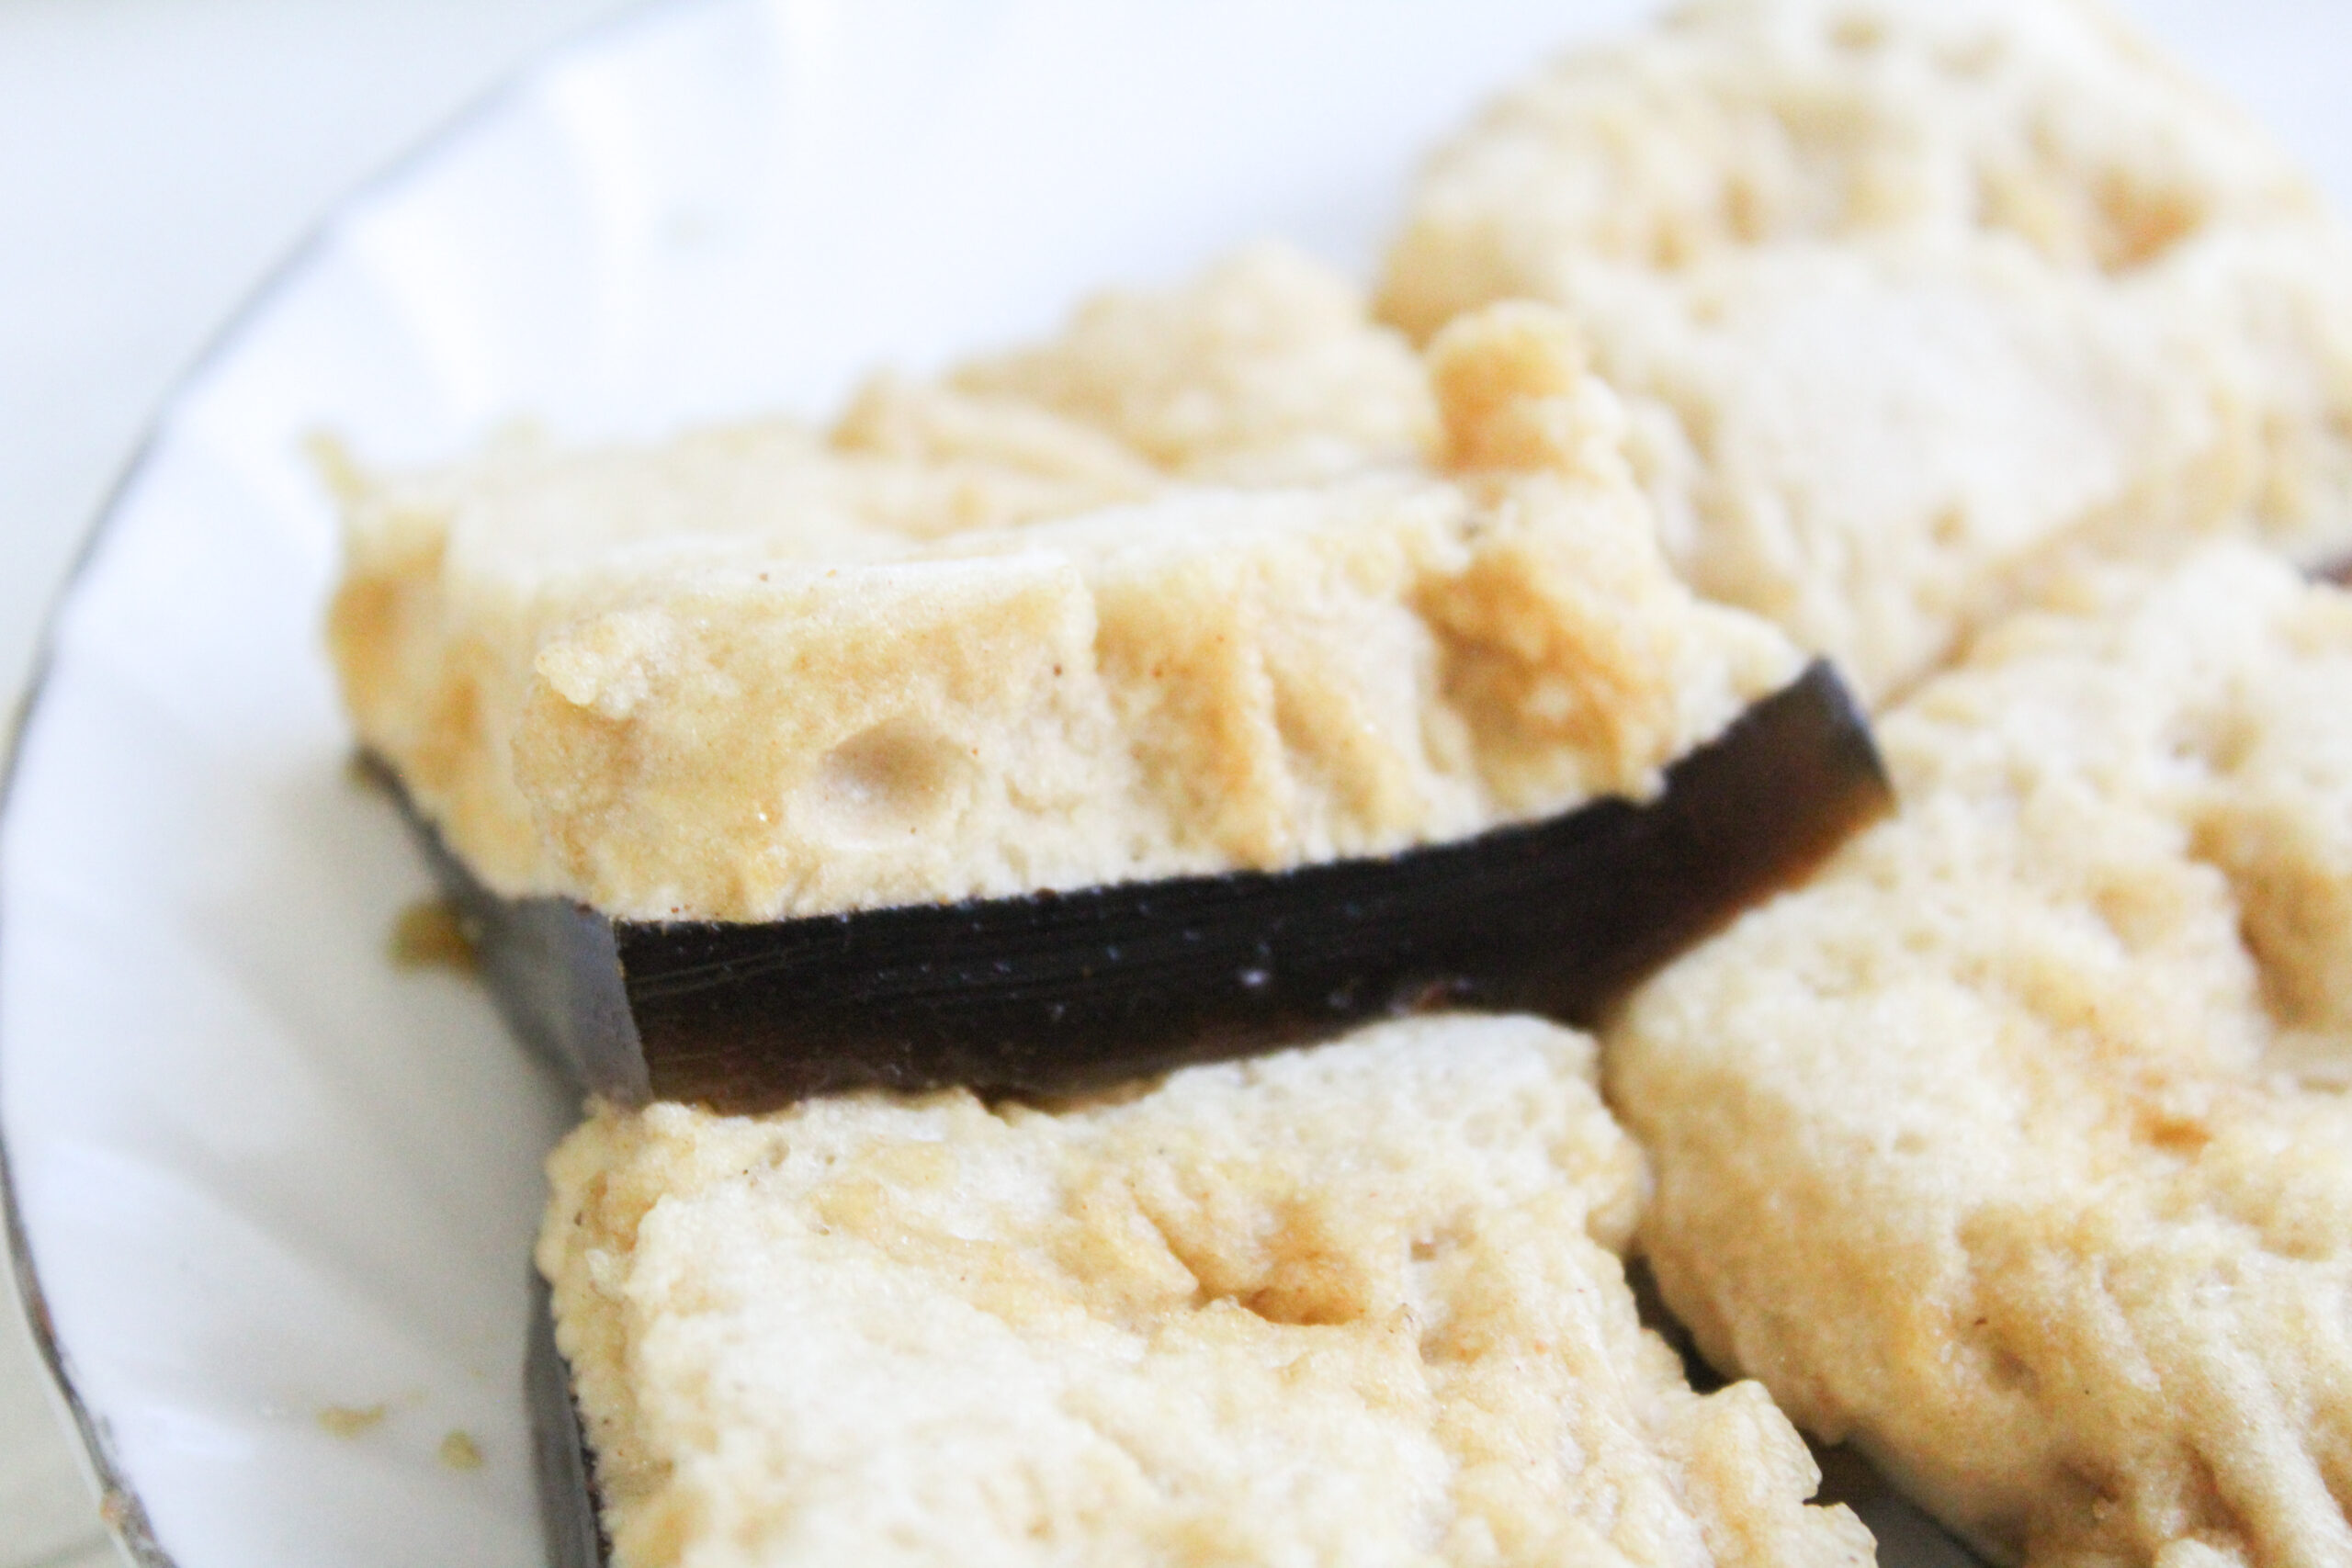
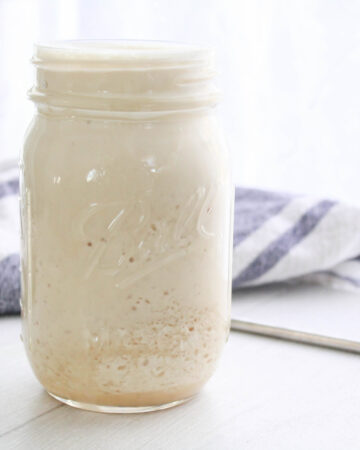
Scoby: This odd-looking creature is made of good bacteria and yeast. These elements break down the tea and sugar into the fizzy, delicious kombucha will know and love. Many people make their own scoby from scratch, which you can totally do, but I prefer to take a shortcut and purchase a fully grown one from a reputable source.
Glass Jar: I brew my kombucha in a gallon-sized glass jar. I cover it with a coffee filter, secure it with a rubber band, and let it sit on my kitchen counter. If your kitchen temperature fluctuates like my Midwestern one does, you may need to keep your brew warm.
During the winter, I will wrap a kitchen towel around my kombucha and let it sit near the stove. This keeps it at a reasonable temperature and doesn’t slow the fermenting process too much.
Many kombucha kits have jars with thermometer stickers on them, which are SO useful for figuring out the best spot for your homemade kombucha recipe to hang.
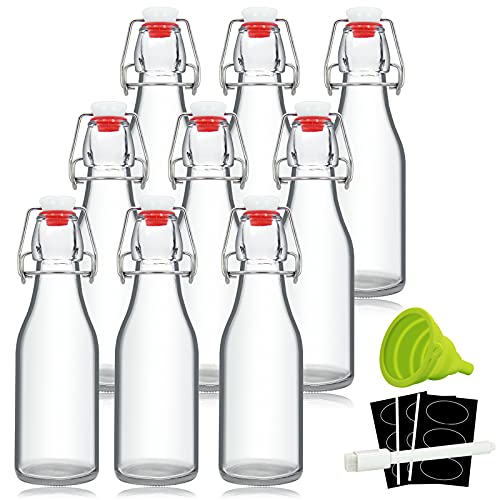
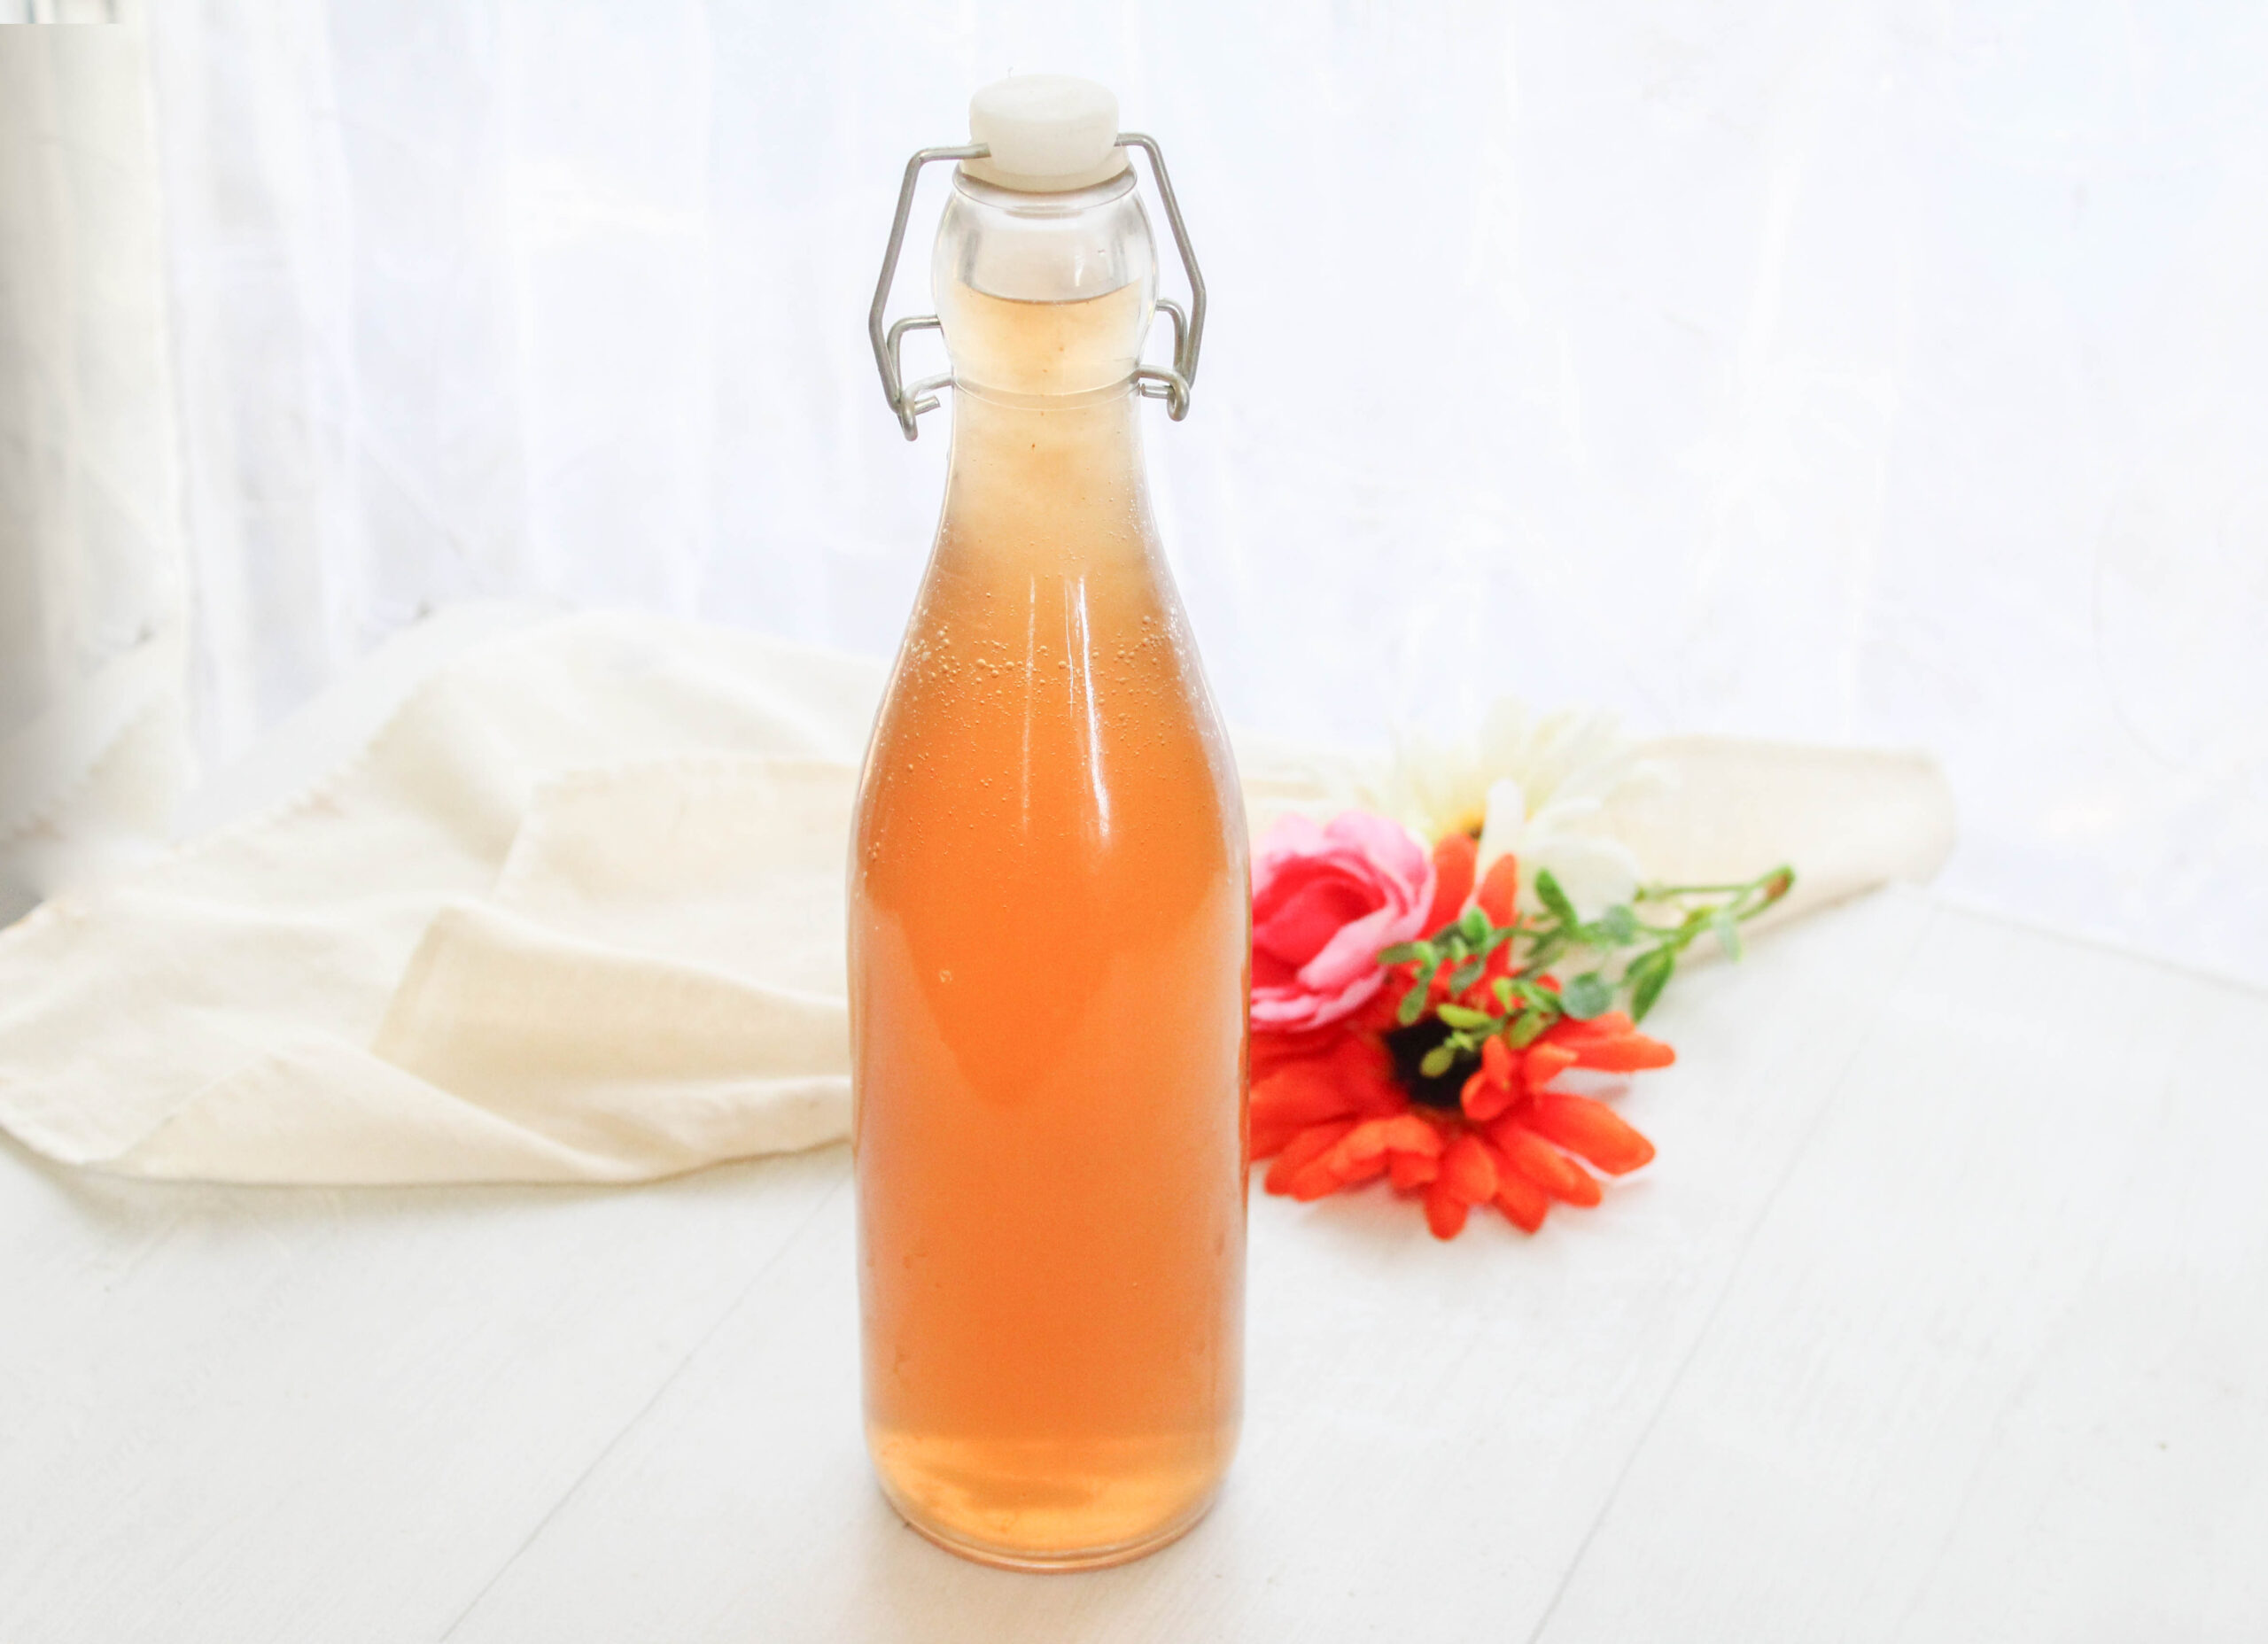
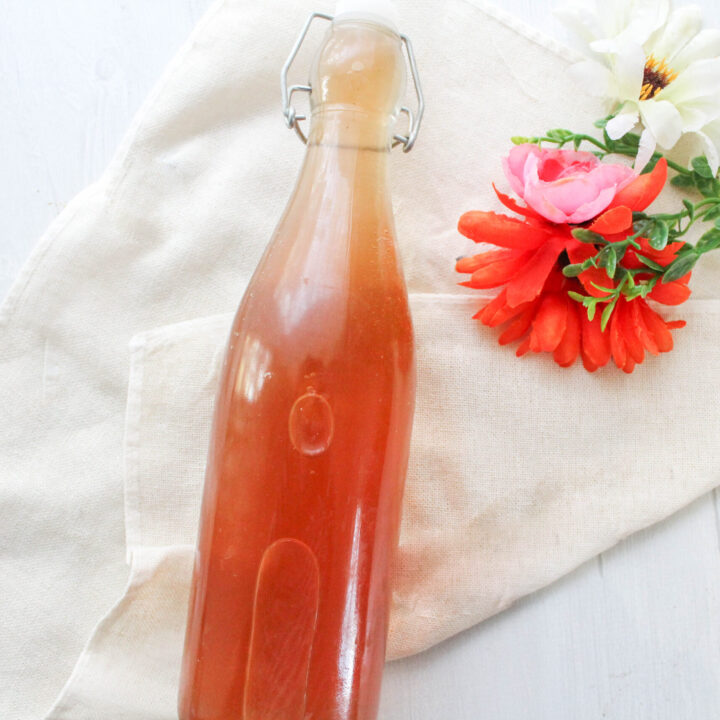
Storage: Finished kombucha needs to be refrigerated, and there are so many great ways to store it! You can use a drink dispenser, which is always a great option, especially if you’re serving it at a gathering. My favorite storage method is to funnel the kombucha into individual glass bottles. This is great for on-the-go! You can reuse old store-bought kombucha bottles or purchase ones similar to mine. Heads up: In all transparency, I found my bottles at Dollar Tree. It was the find of the century and you can only imagine how elated I was. 🙂
Kombucha Recipe
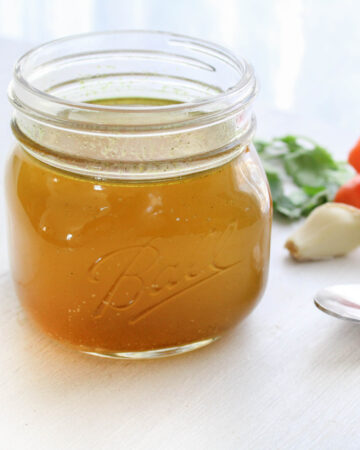
Step One: Brew the Tea
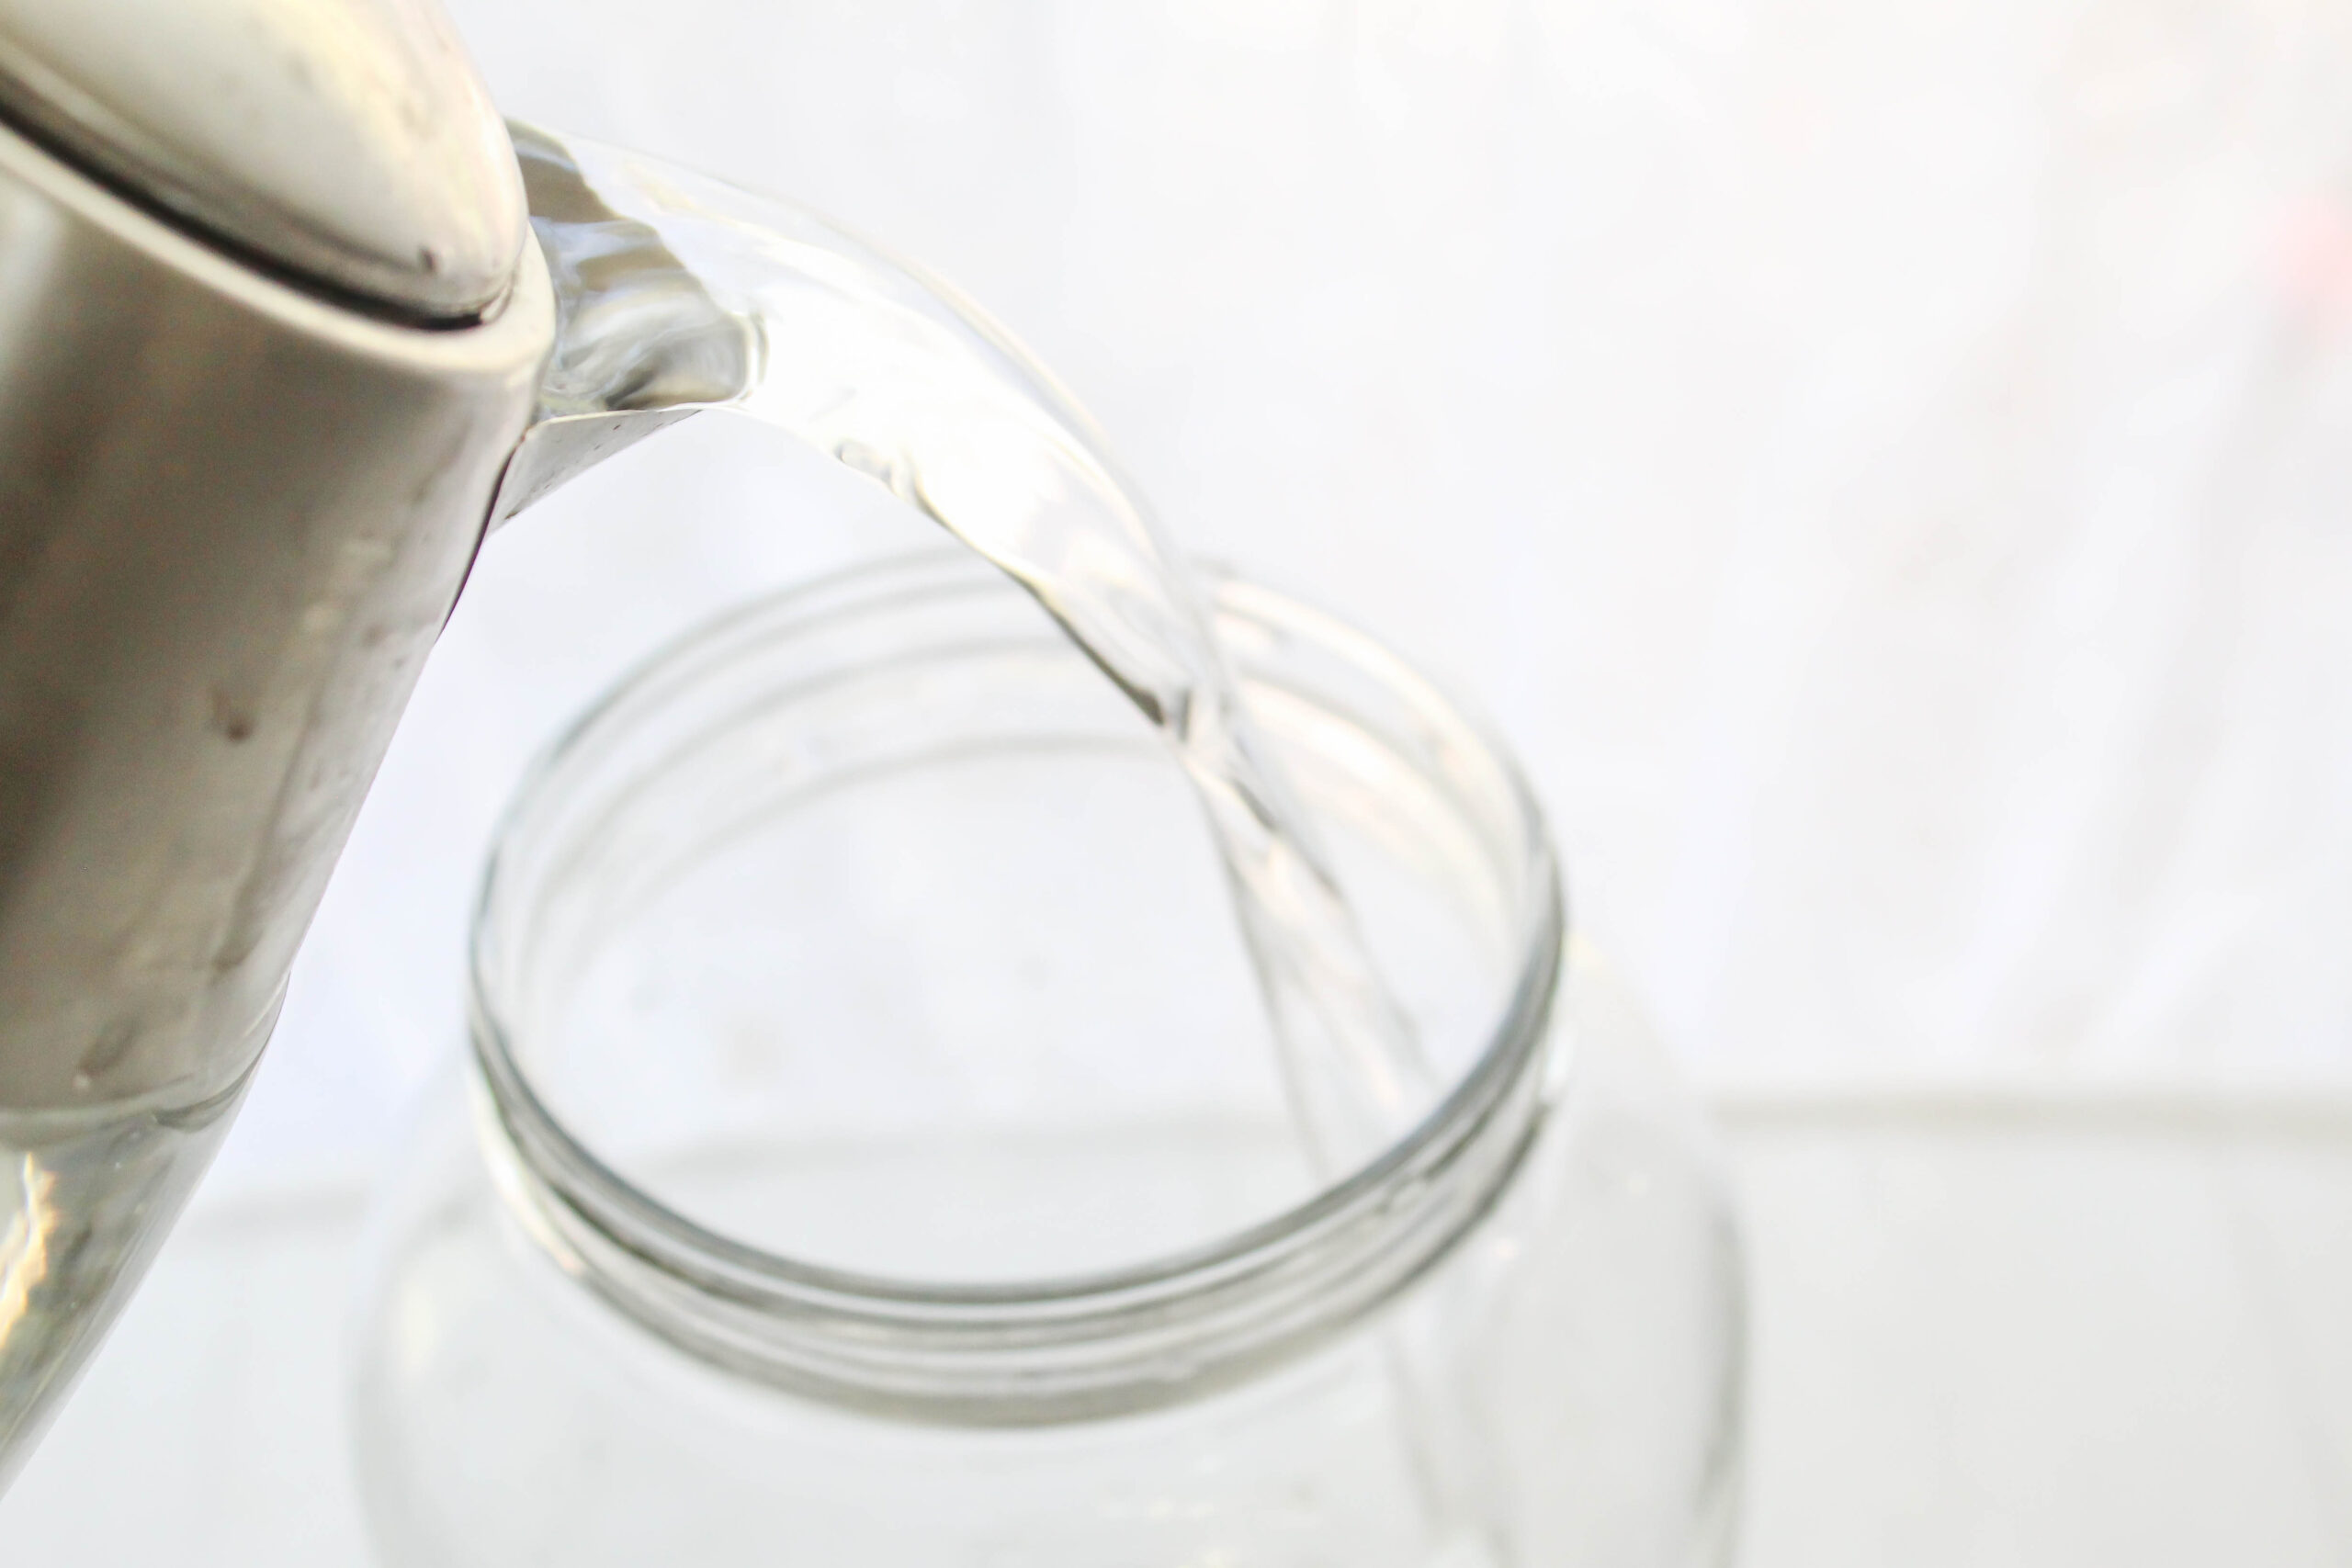
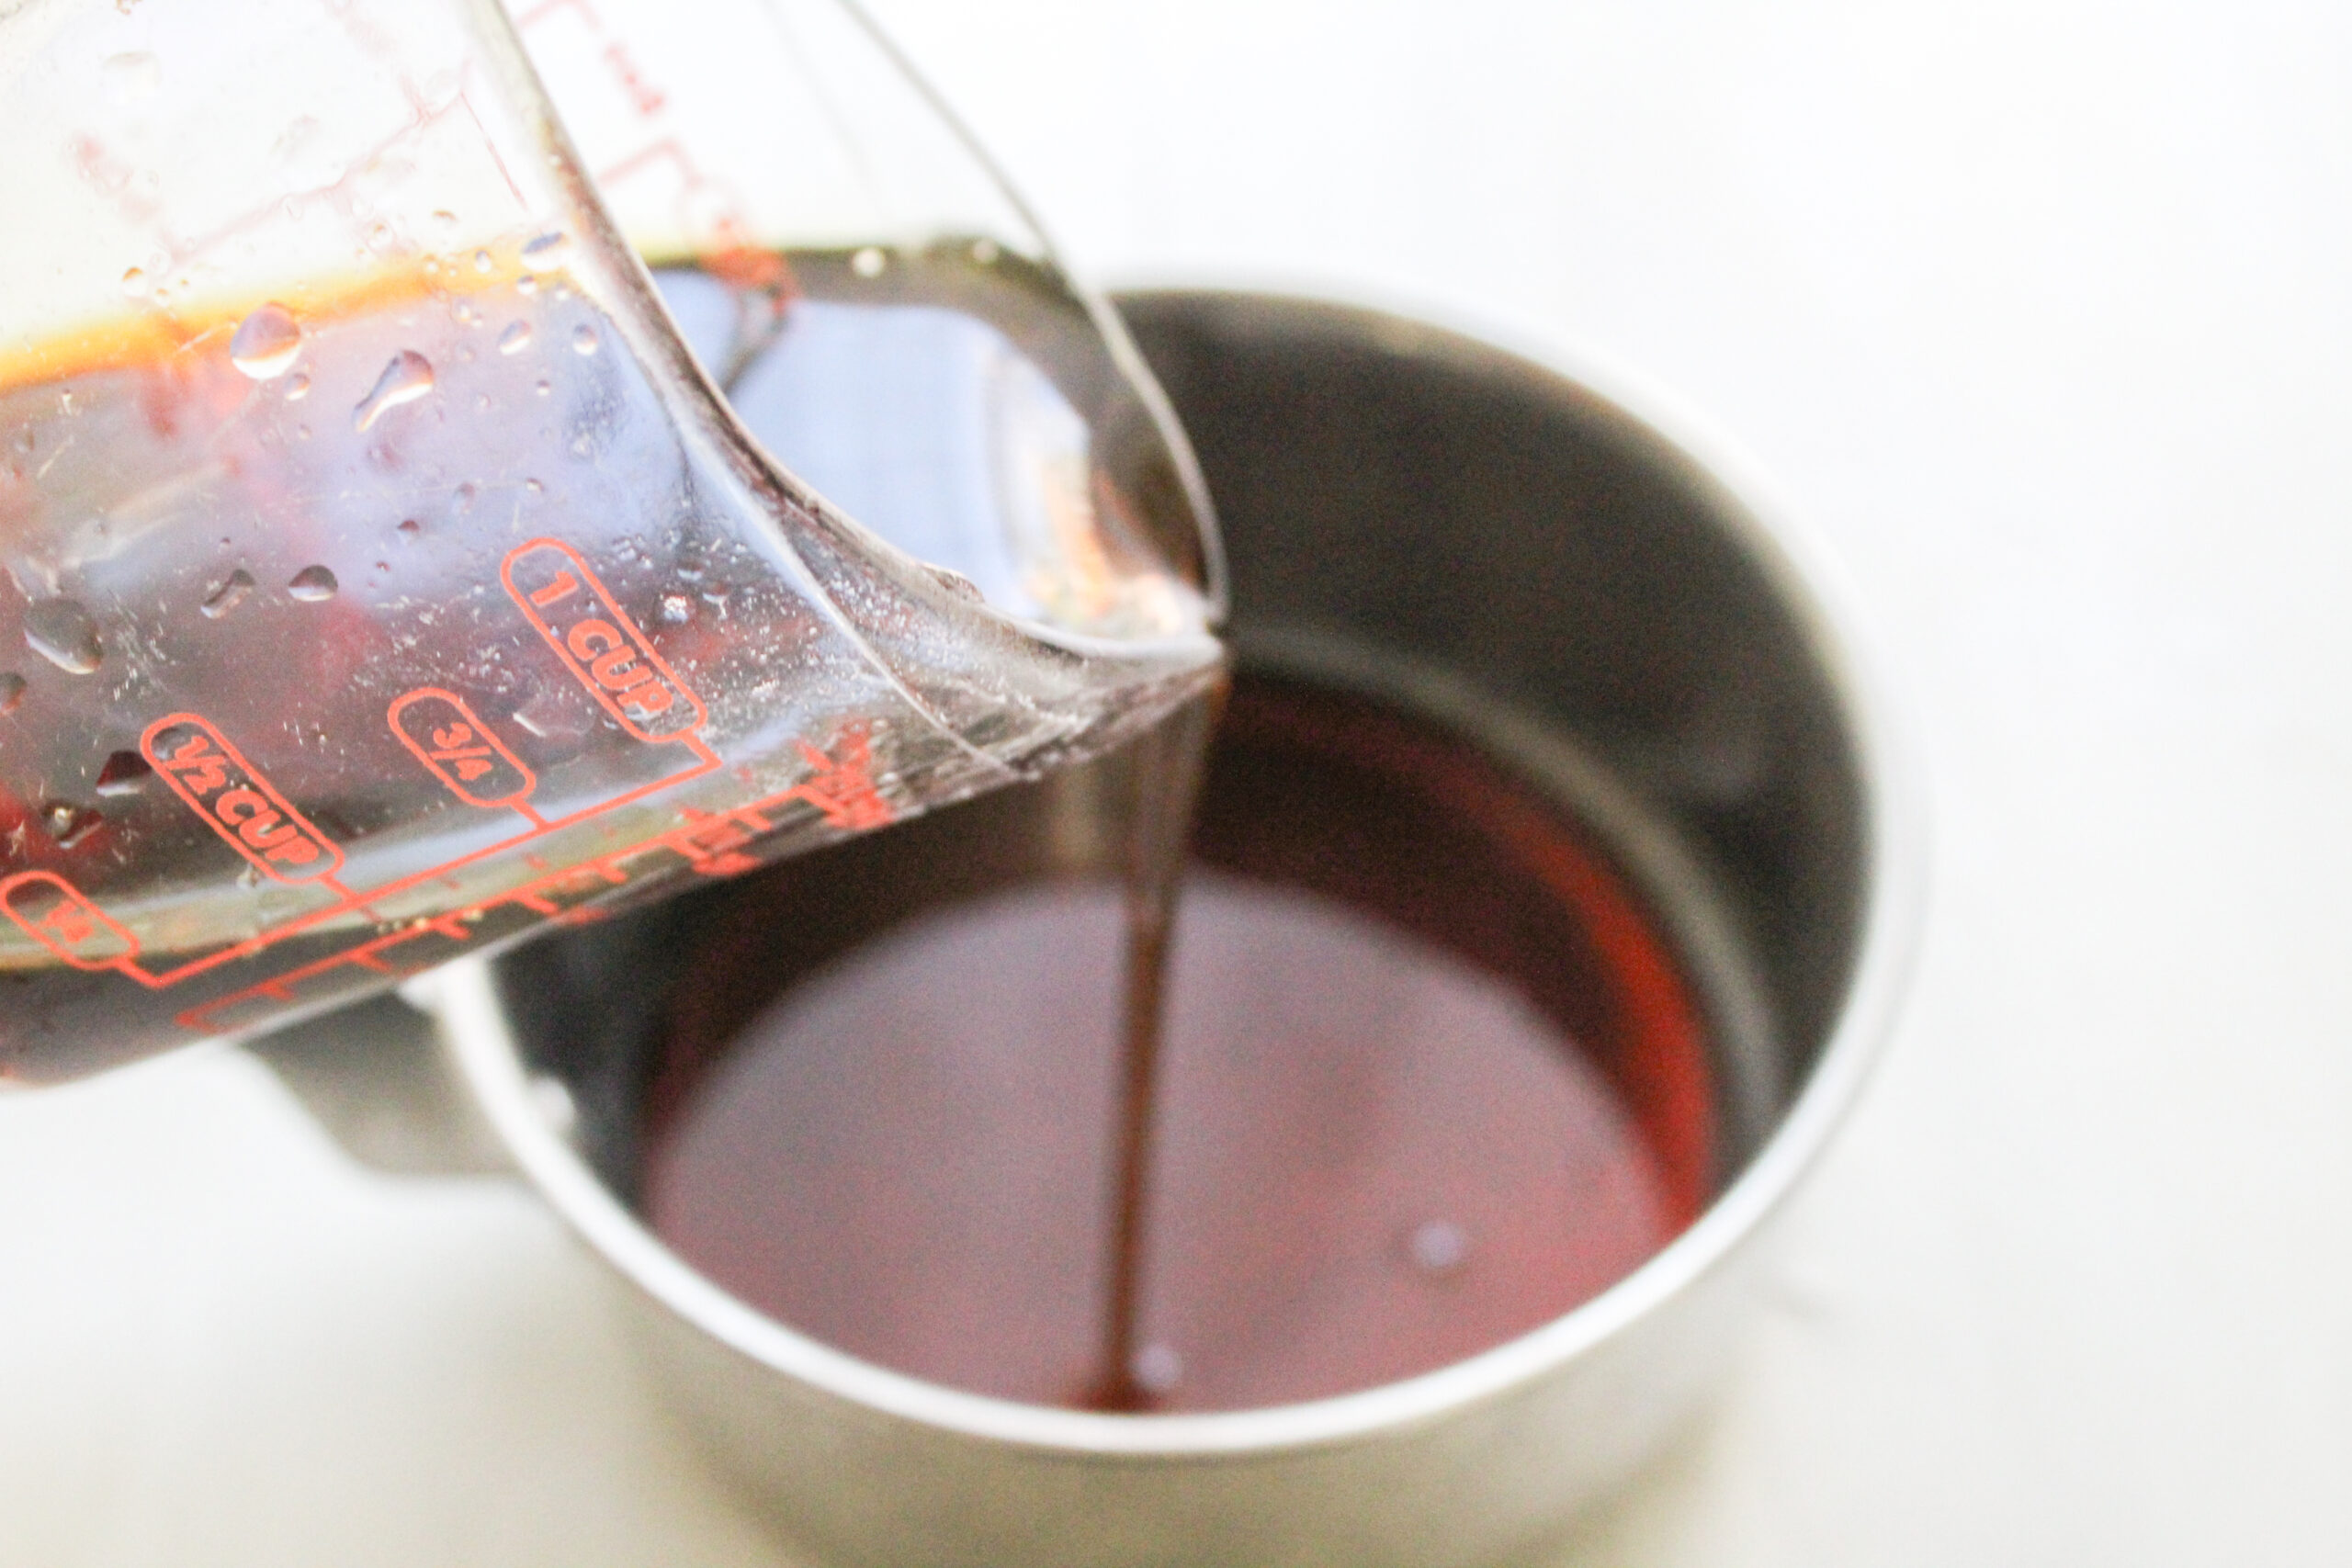
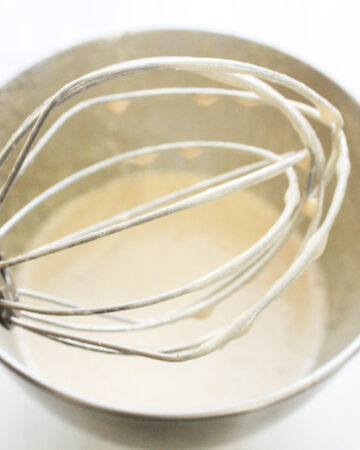
Place the tea bags and boiling water in the glass jar. Add the sugar and stir to dissolve. Let steep for 10 minutes.
Add the cool water to the jar and stir to combine. Your tea mixture should be at about room temperature. If not, let it cool a little more.
Step Two: Add the Scoby
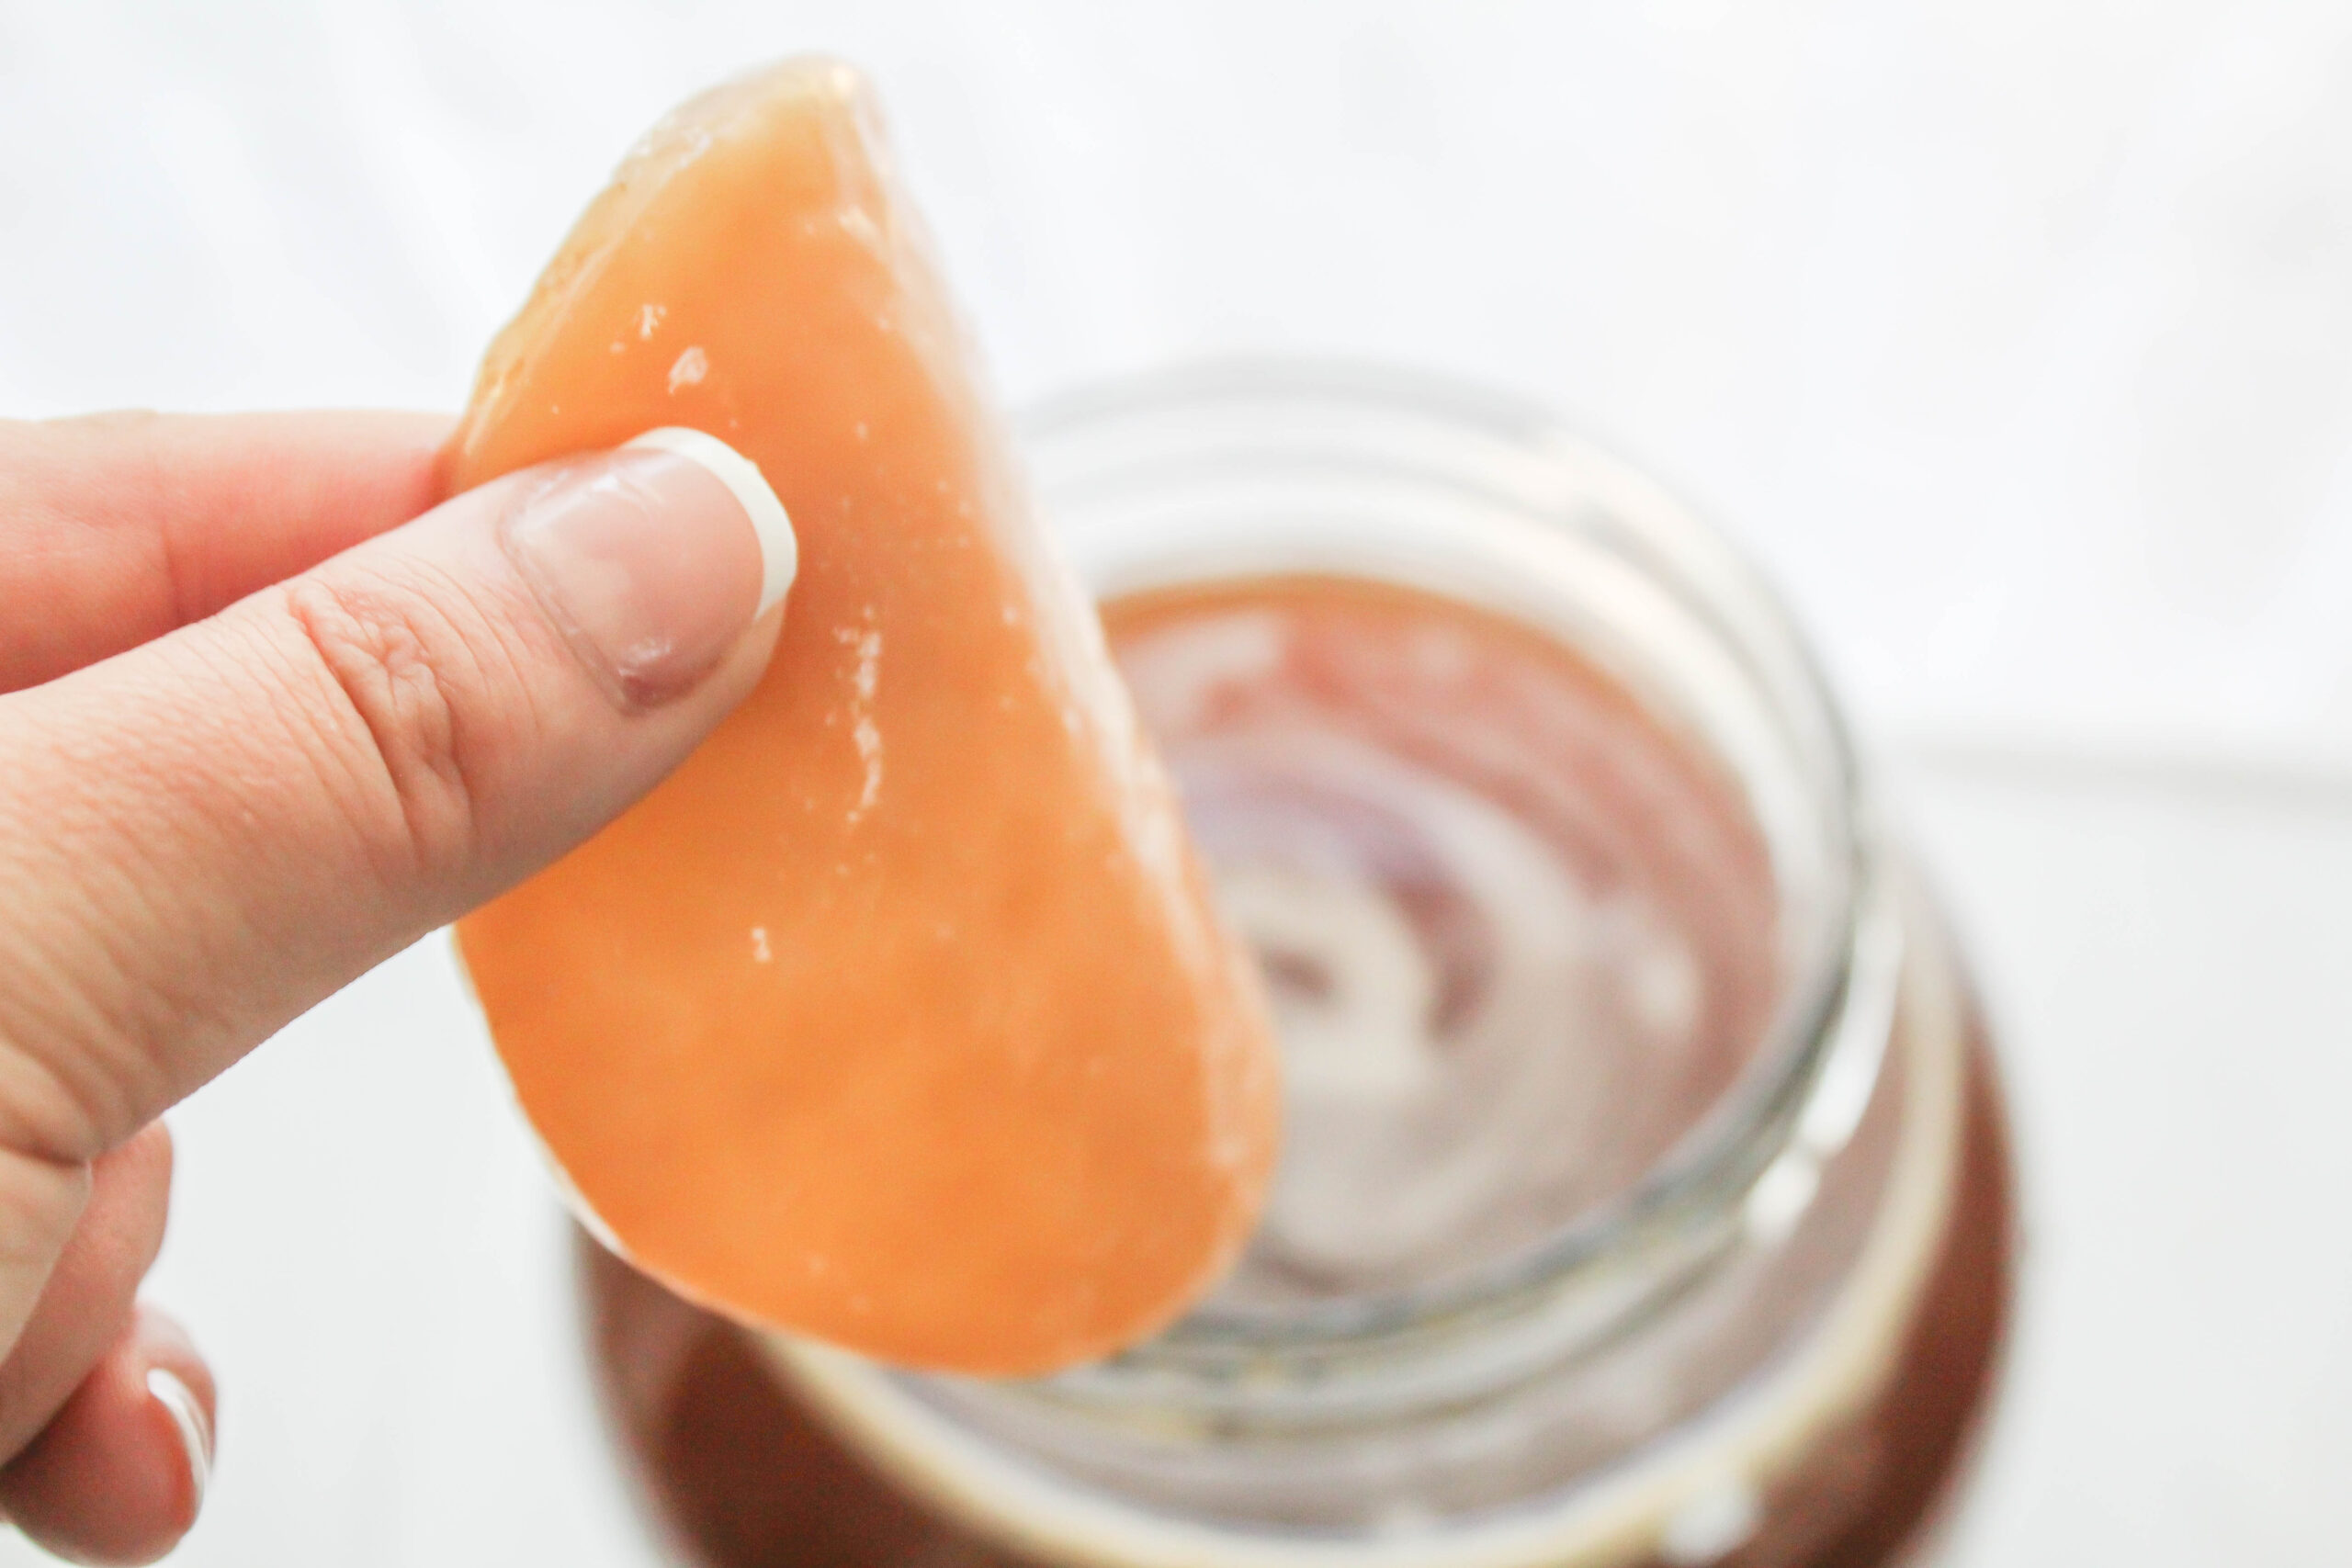
With clean hands (or a wooden spoon), add the scoby and starter liquid to your glass jar. The scoby may sink or float, either is fine.
Step Three: Ferment, Ferment, Ferment
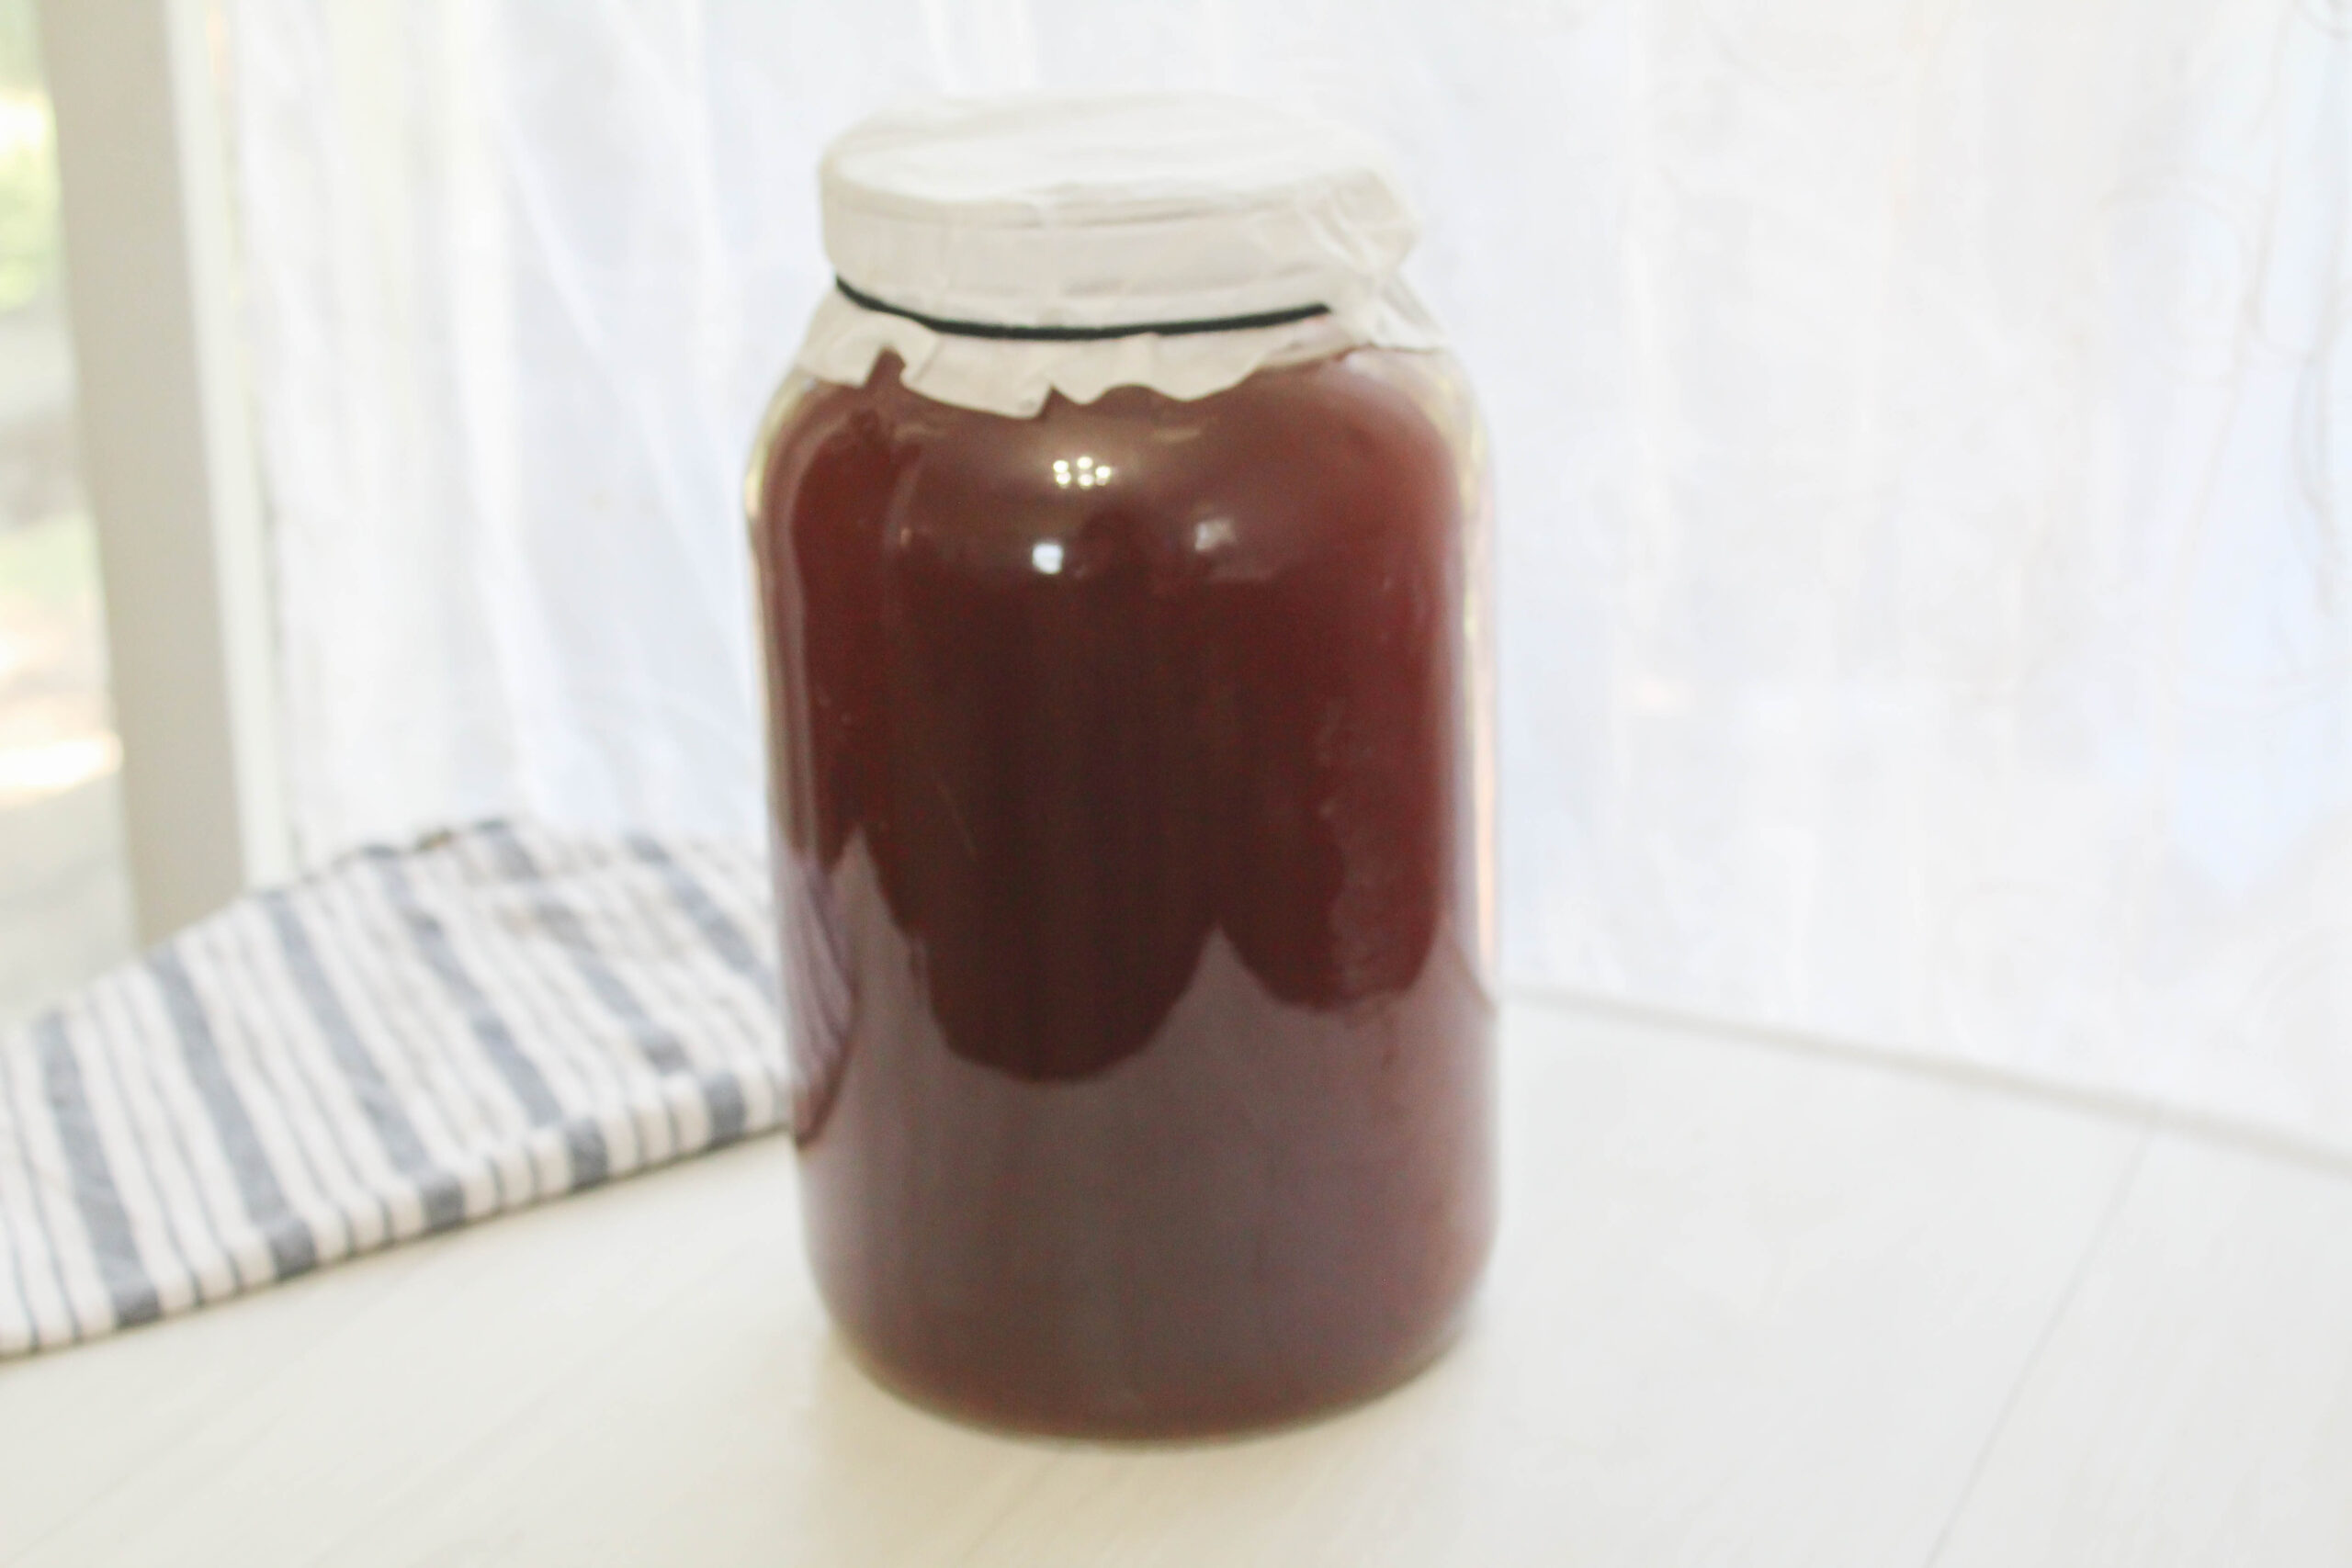
Place a coffee filter over the top of the jar and secure with a rubber band. Let the kombucha ferment in a warm place for 1-3 weeks, depending on your climate, ingredients, and personal preference.
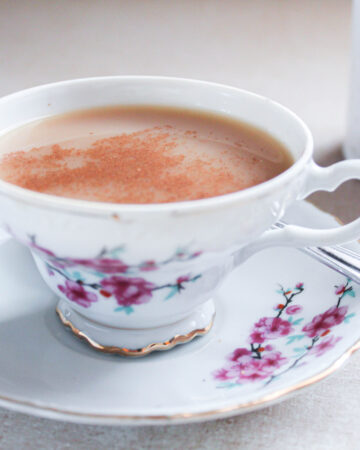
You’ll know your kombucha is ready to drink when it’s slightly tangy. Experts say to start tasting it after a week and then once a day until it tastes just right. Mine usually brews for about 10 days.
How to Store Homemade Kombucha
Once your kombucha has finished fermenting, it’s important to store it properly to keep that delicious flavor and fizz.
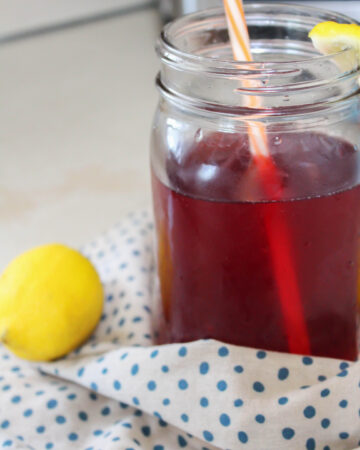
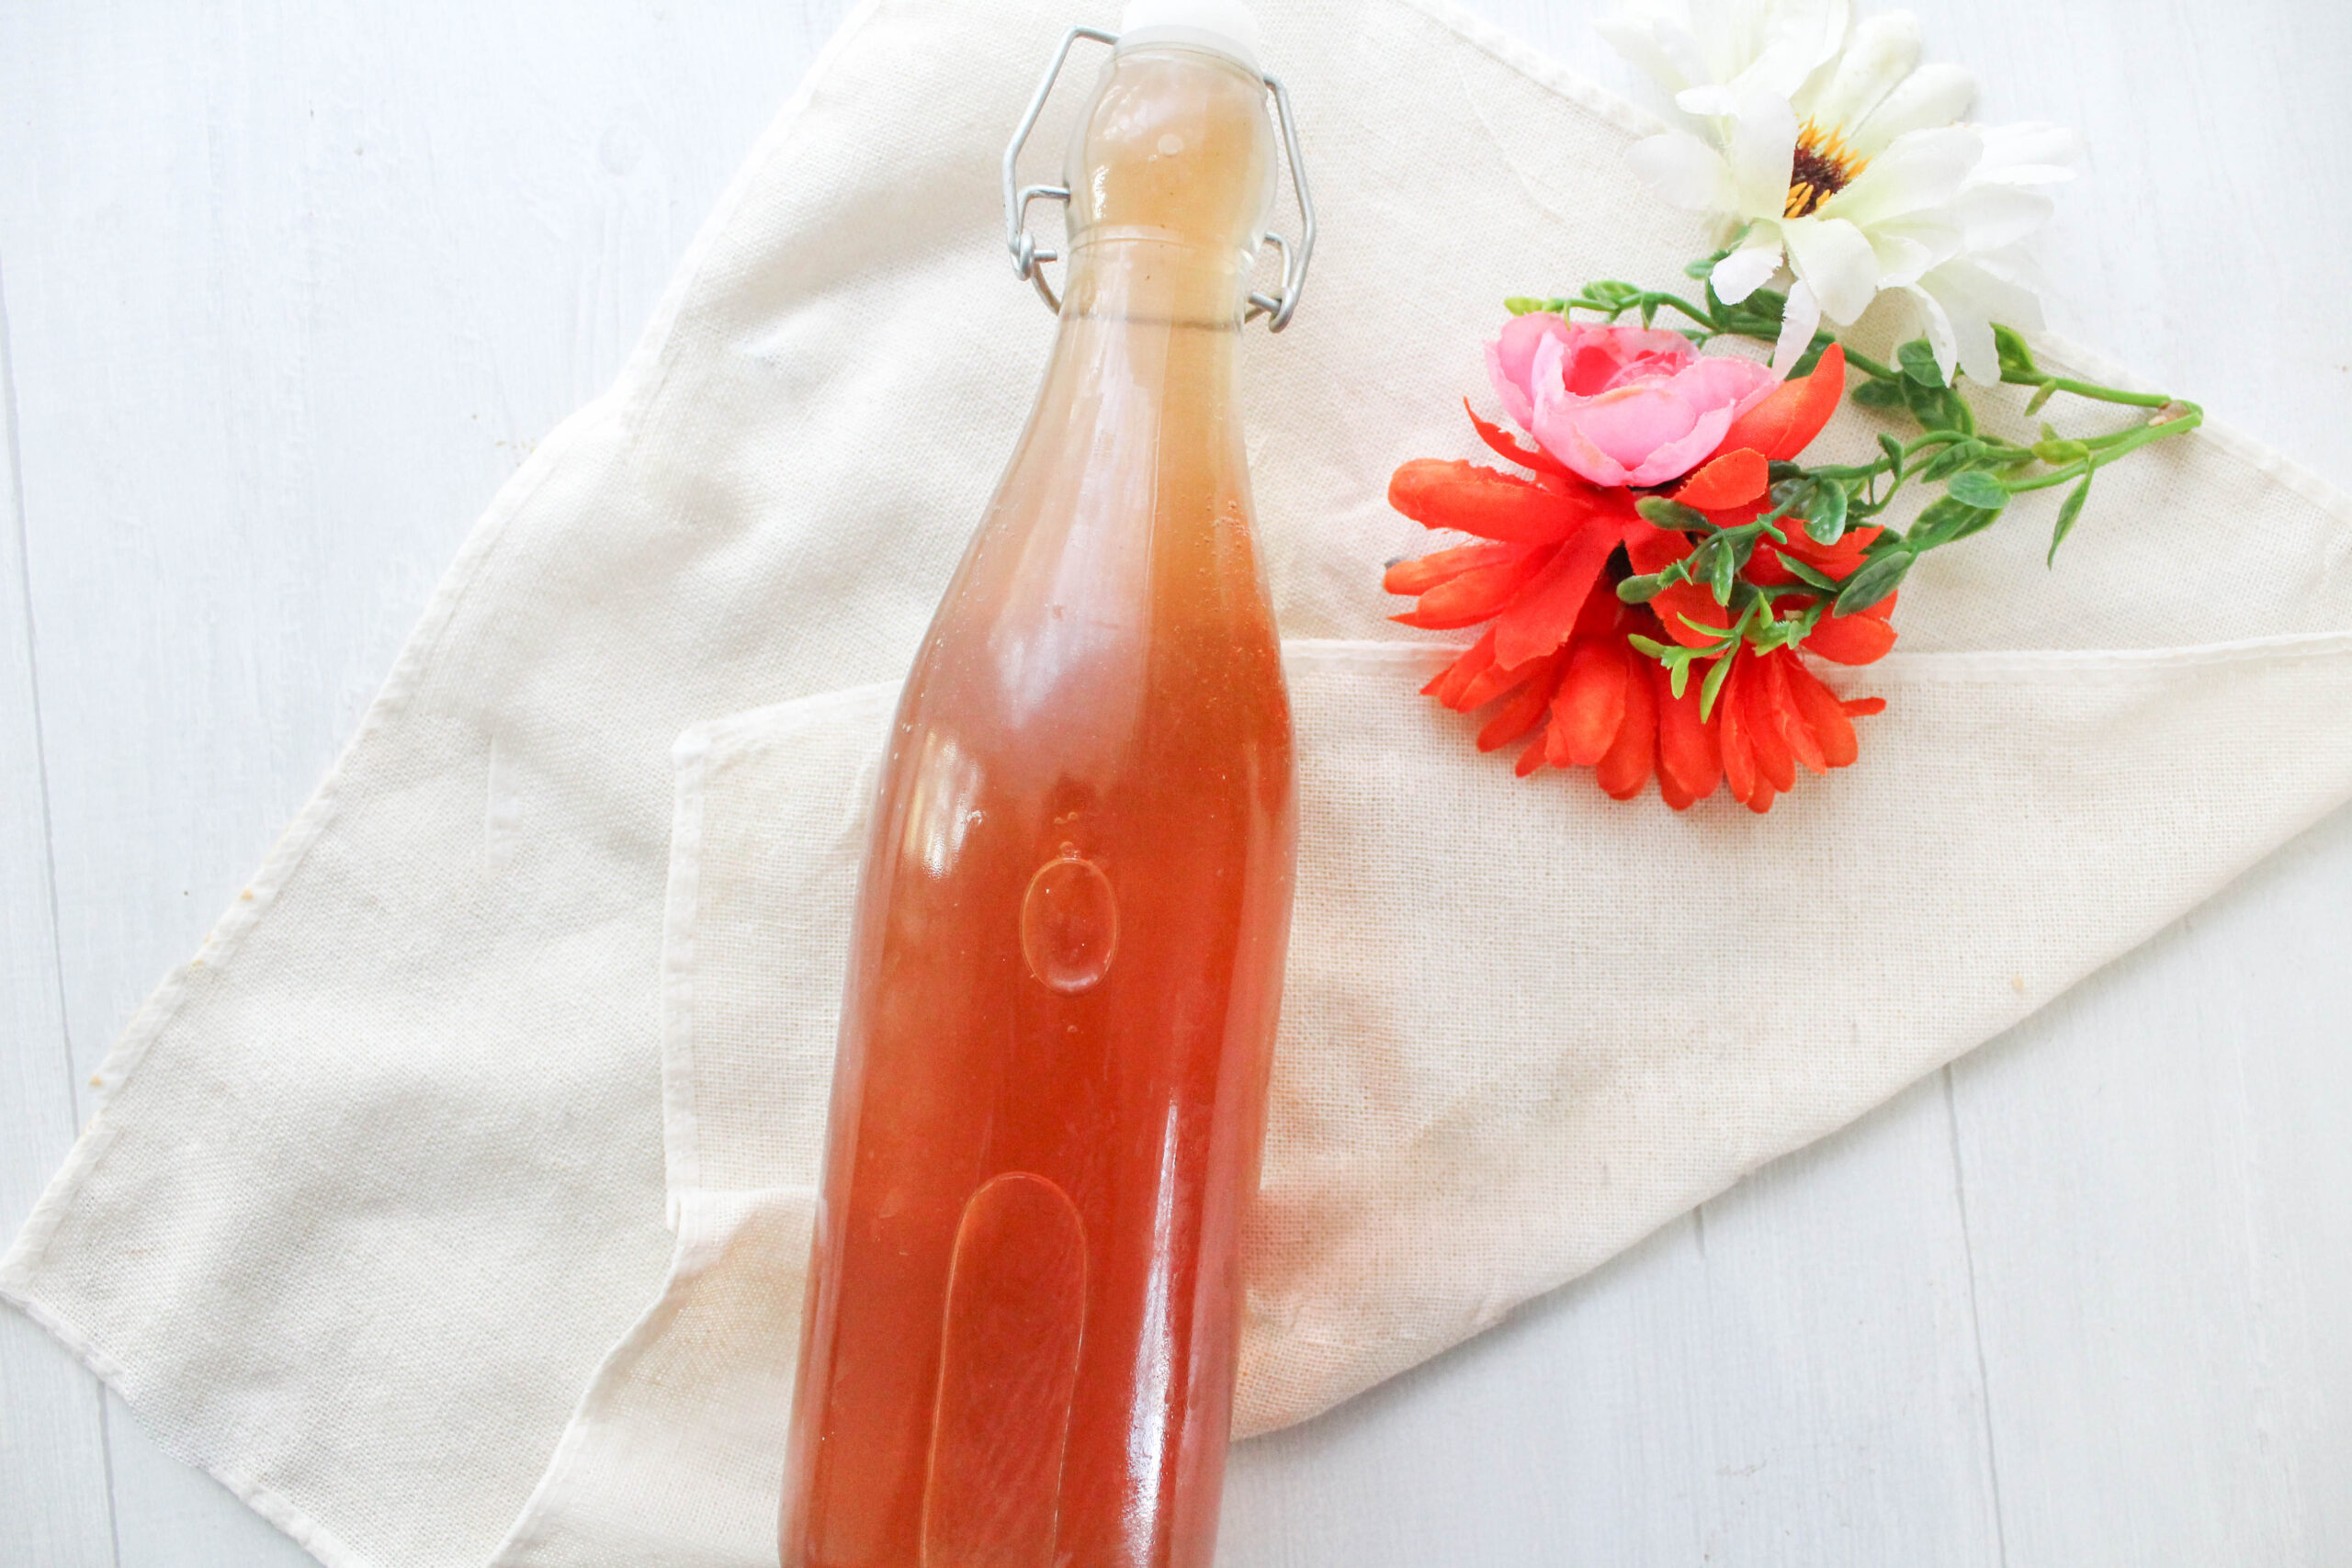
Choose an airtight bottle or jar to keep the carbonation inside and prevent leaks. You can use swing-top bottles or even reuse an old kombucha jar from the store. When in a pinch, a Mason jar can work, too. When you fill your container, you want to leave at least 2 inches of headspace on the top. This leaves room for additional carbonation that can happen when the kombucha sits. Store your brew in the refrigerator, unless you want it to ferment more for stronger flavor. Your kombucha will technically last several months, but it’s best enjoyed within a few weeks.
Keep the Homemade Kombucha Recipe Coming!
After a few days, you’ll notice that your scoby appears to be growing another scoby. This is commonly referred to as the “baby” scoby. I usually place both of the scobys in my next batch to allow them to grow thicker. Eventually, you’ll be able to peel the baby scoby off. Then you can save it as a backup scoby or give it away.
Be sure to save at least a cup of finished kombucha along with your scoby to help ferment the next batch! We go through a lot of kombucha, so I always have a jar brewing. If you can’t brew a new batch of kombucha right away, store it in an airtight container in the fridge.
If your scoby looks sketchy, throw it out. Brown spots are usually fine, but anything that looks “moldy” is a sign of trouble. I always have a backup scoby in my fridge in case this happens!
Homemade Kombucha Recipe
Brew joy in a jar with this simple homemade kombucha recipe—full of gut-loving goodness, gentle guidance, and flavor ideas to make your soul (and tummy) sing.
Ingredients
- 4 herbal tea bags or oolong tea
- 4 cups water, boiling
- 3/4 cup cane sugar, coconut sugar, honey, or maple syrup
- Cool water (to fill the rest of the gallon jar)
- 1 SCOBY with starter liquid
- 1 (1-gallon) glass jar
- Coffee filter
- Rubber band
- Kombucha bottles
Instructions
1. Place the tea bags and boiling water in the glass jar. Add the sugar and stir to dissolve. Let steep for 10 minutes.
2. Add the cool water to the jar and stir to combine. Your tea mixture should be at about room temperature. If not, let it cool a little more.
3. With clean hands (or a wooden spoon), add the scoby and starter liquid to your glass jar. The scoby may sink or float, either is fine.
4. Place a coffee filter over the top of the jar and secure with a rubber band. Let the kombucha ferment in a warm place for 1-3 weeks, depending on your climate, ingredients, and personal preference.
Notes
You'll know your kombucha is ready to drink when it's slightly tangy. Experts say to start tasting it after a week and then once a day until it tastes just right. Mine usually brews for about 10 days.
Recommended Products
As an Amazon Associate and member of other affiliate programs, I earn from qualifying purchases.